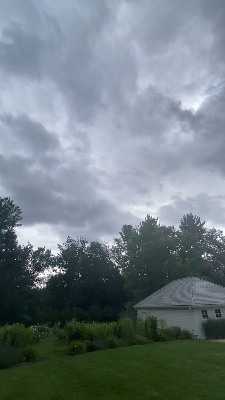
clouds
I wanted to have the process of compiling this project to relate to the content. I also wanted to make use of transparent sticker paper I recently purchased without realizing it wasn’t waterproof. I’ve been playing around with cyanotypes and solarfast exposures lately, so I ended up looking to weather and the sky. I was also probably influenced by the sunset picture compilations, but I didn’t make the connection until later.
My plan was to:
1. Collect pictures I’ve taken over the years that contain clouds.
2. Digitally cut out the clouds/sky, and invert.
3. Print on the sticker paper.
4. Physically cut out.
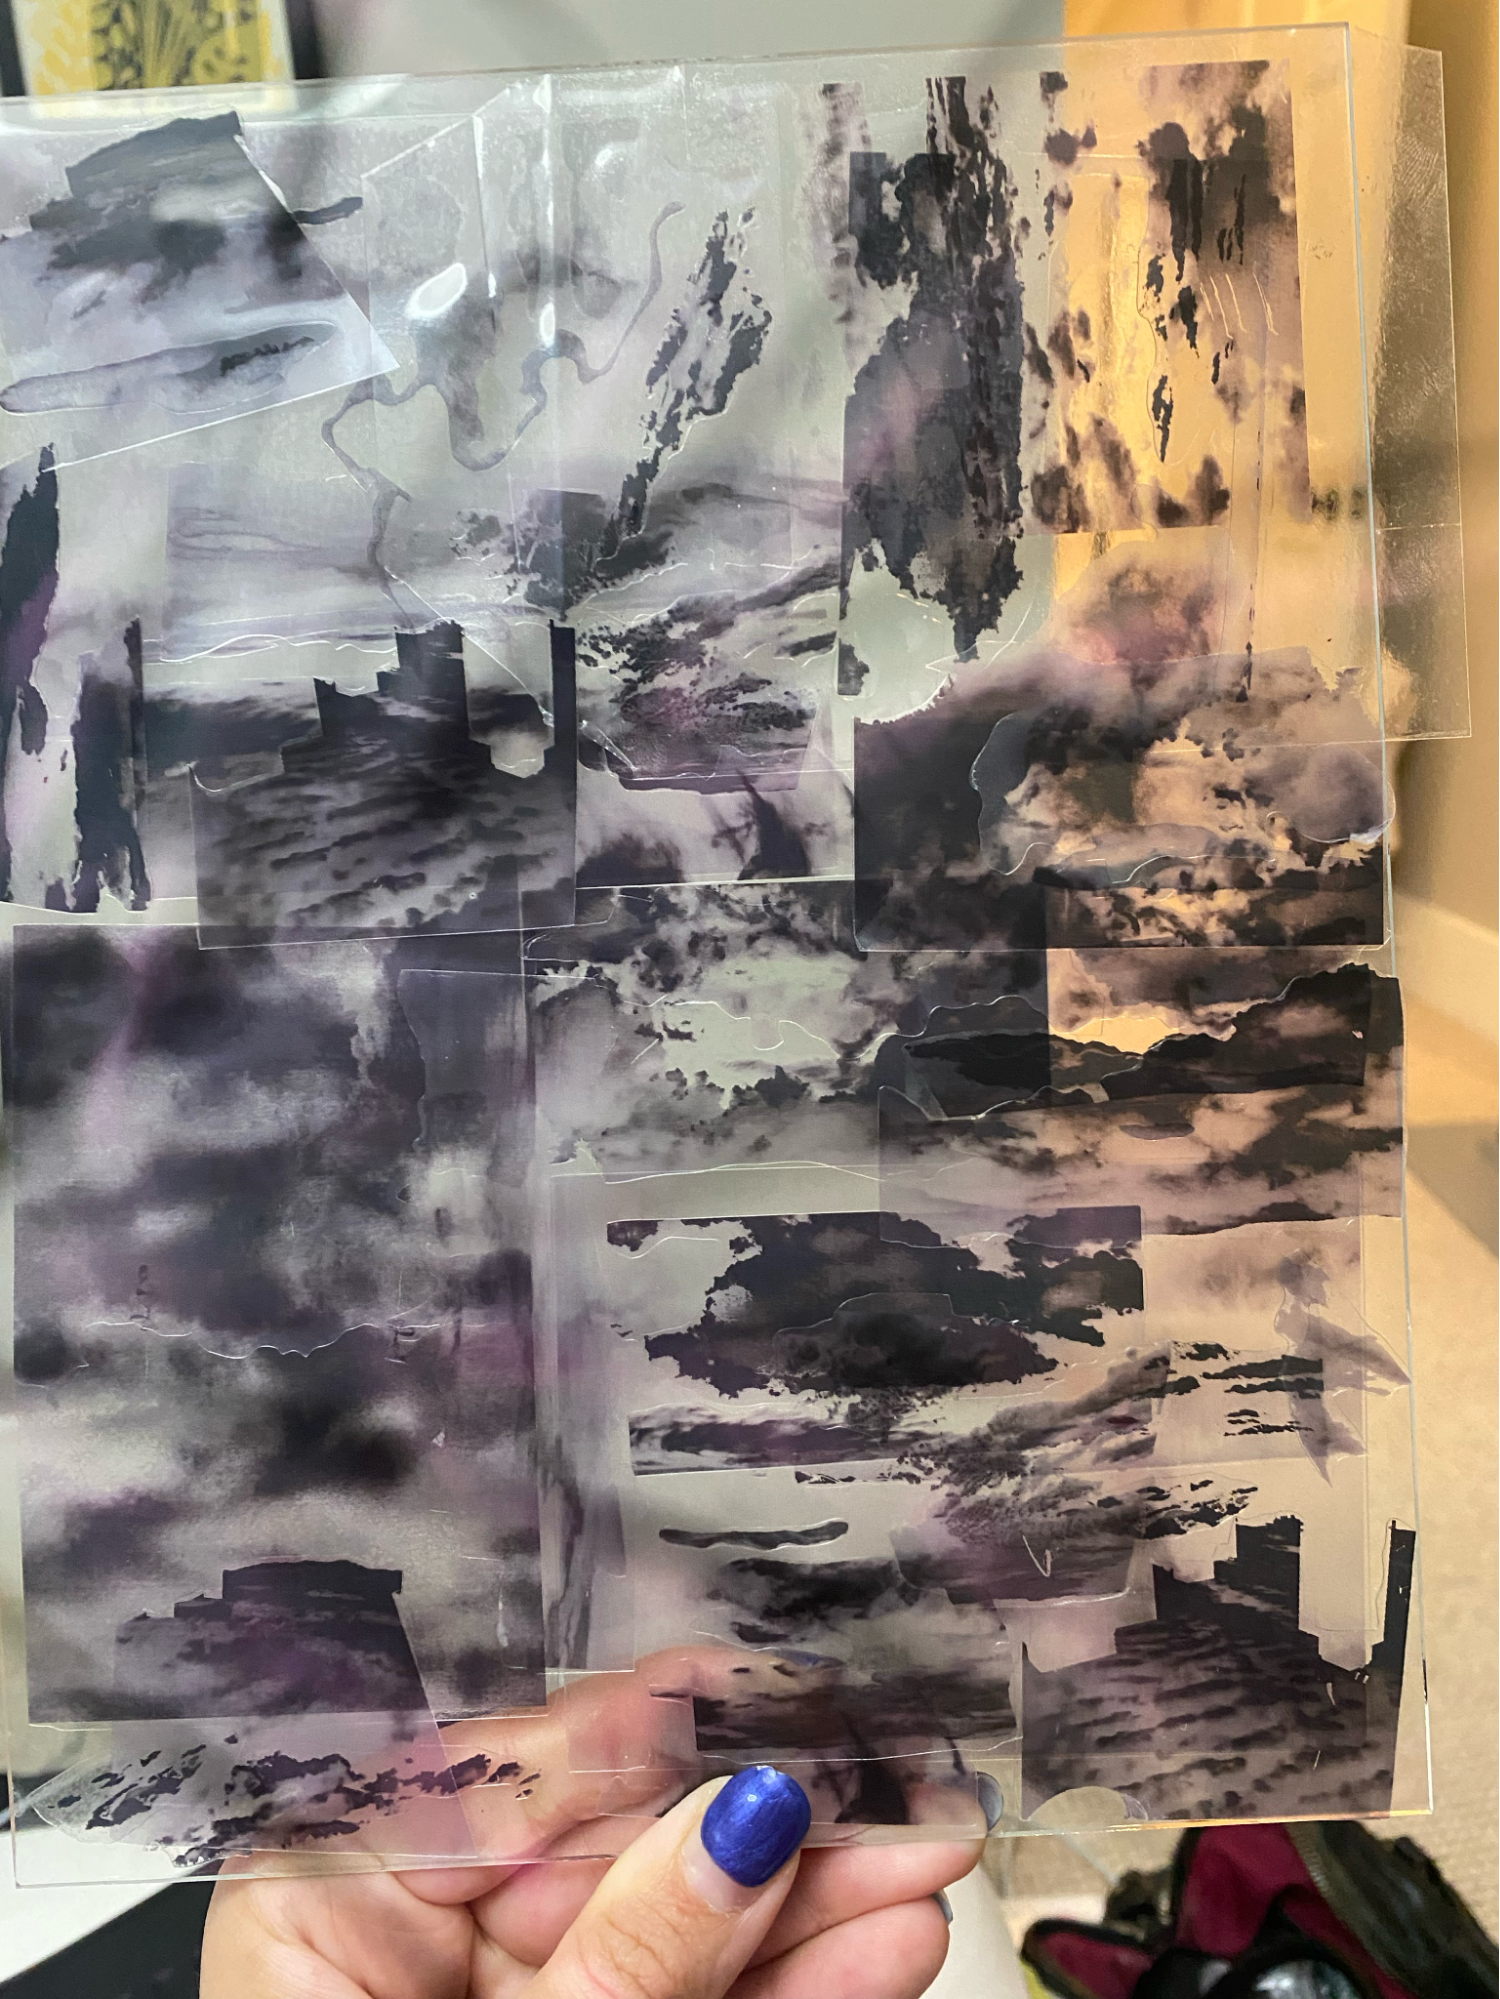
5. Apply to a piece of glass, being mindful to layer.
6. Expose to rain, causing the ink of the topmost layers of stickers to run/smudge/splatter.
7. After drying, use as a negative for cyanotype.
(so it’s all sky and clouds and sun and precipitation and whatnot)
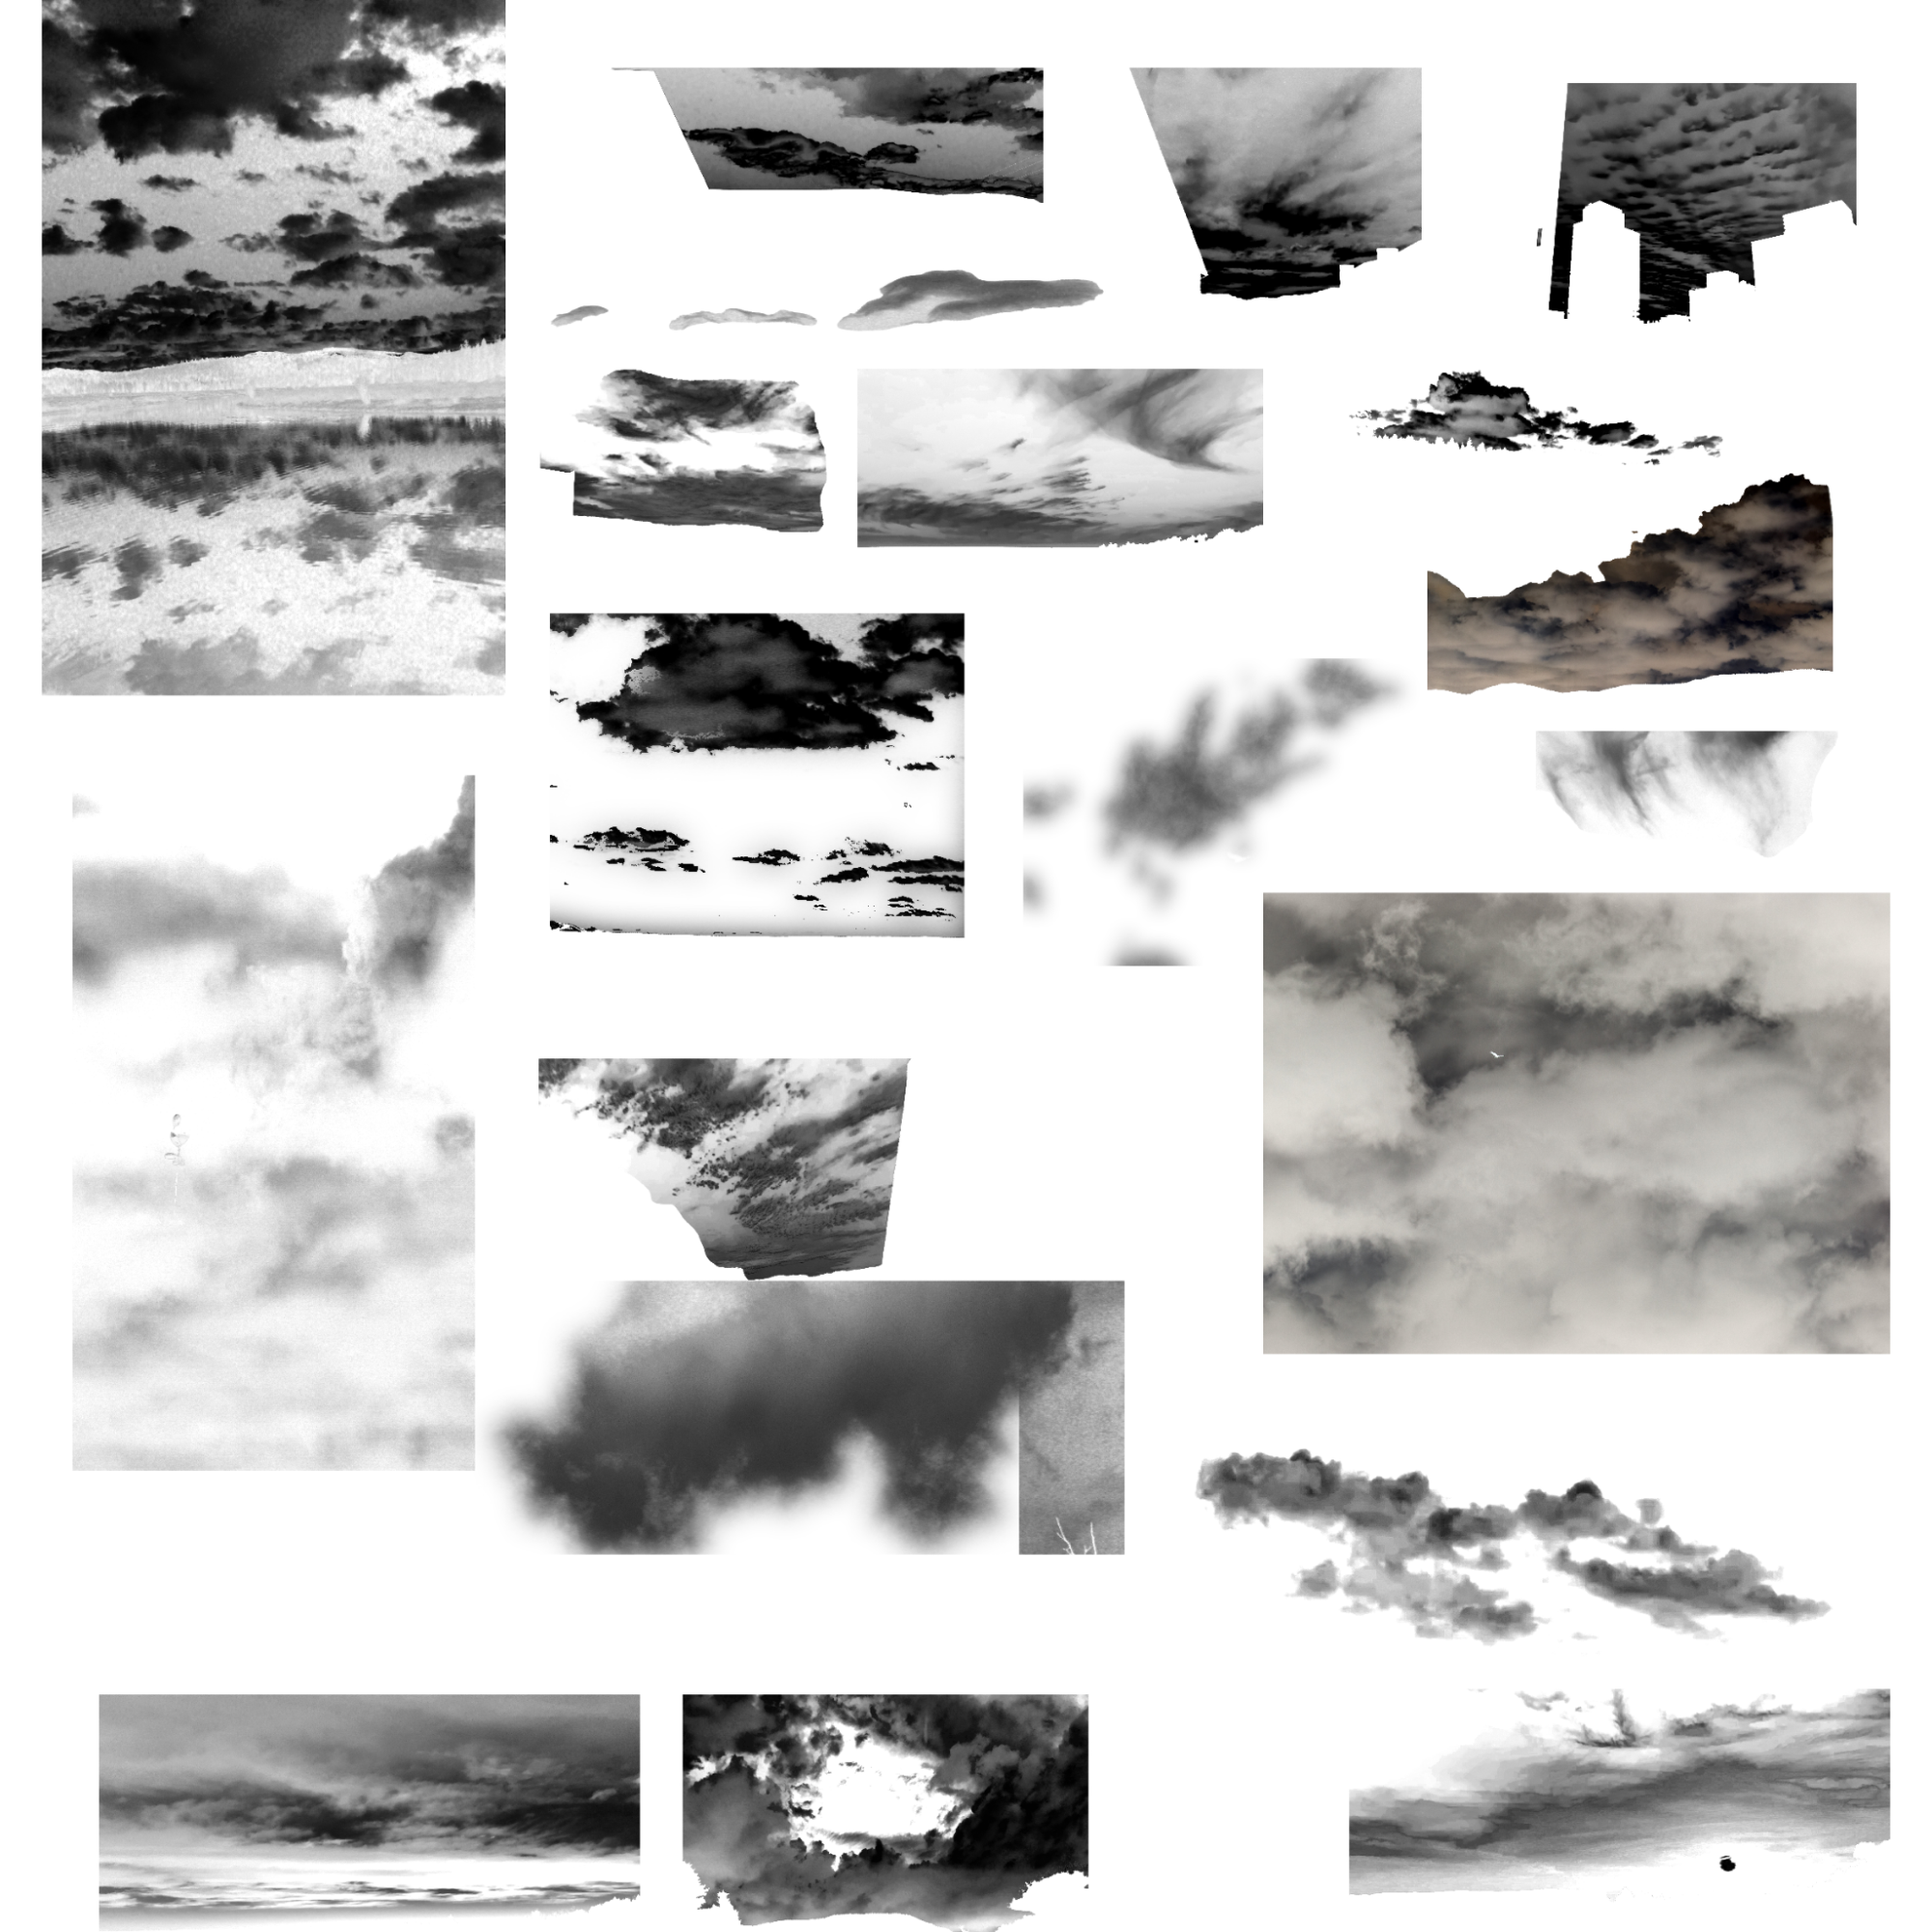
I started out keeping track of the full image as I was collecting them, but it felt quicker and easier to compile to grab the clouds and convert to greyscale as I went. But, for the sake of this document, I went back and opened some of my recently-opened-files and did a quick collage of some of the relevant ones.
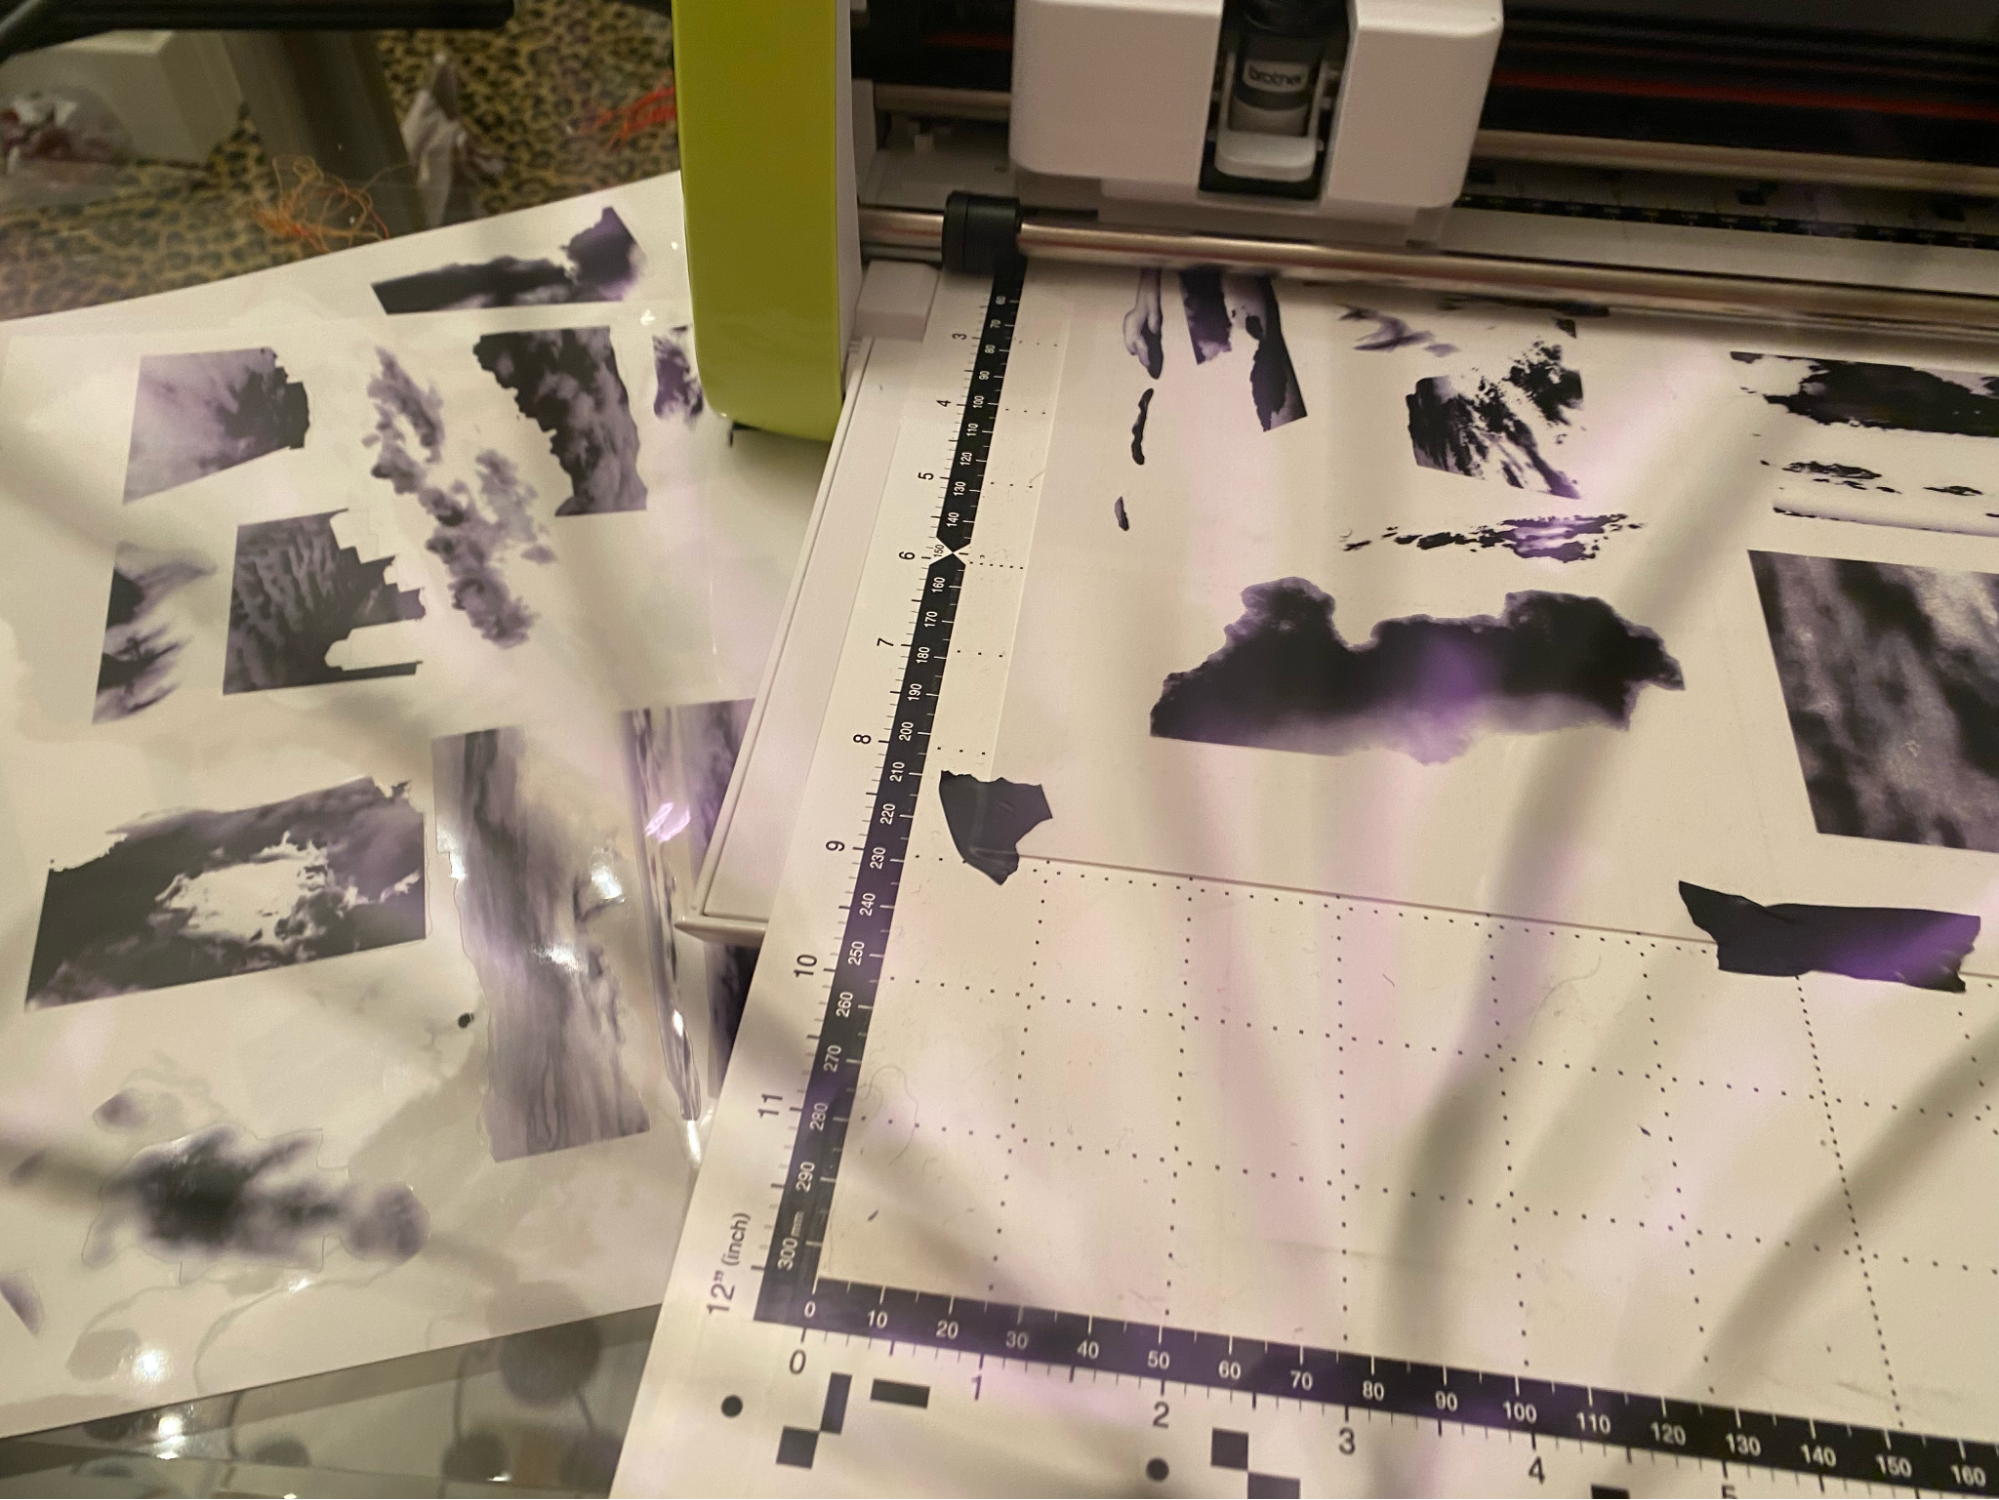
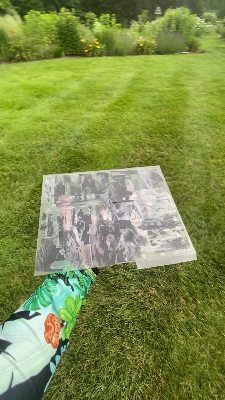
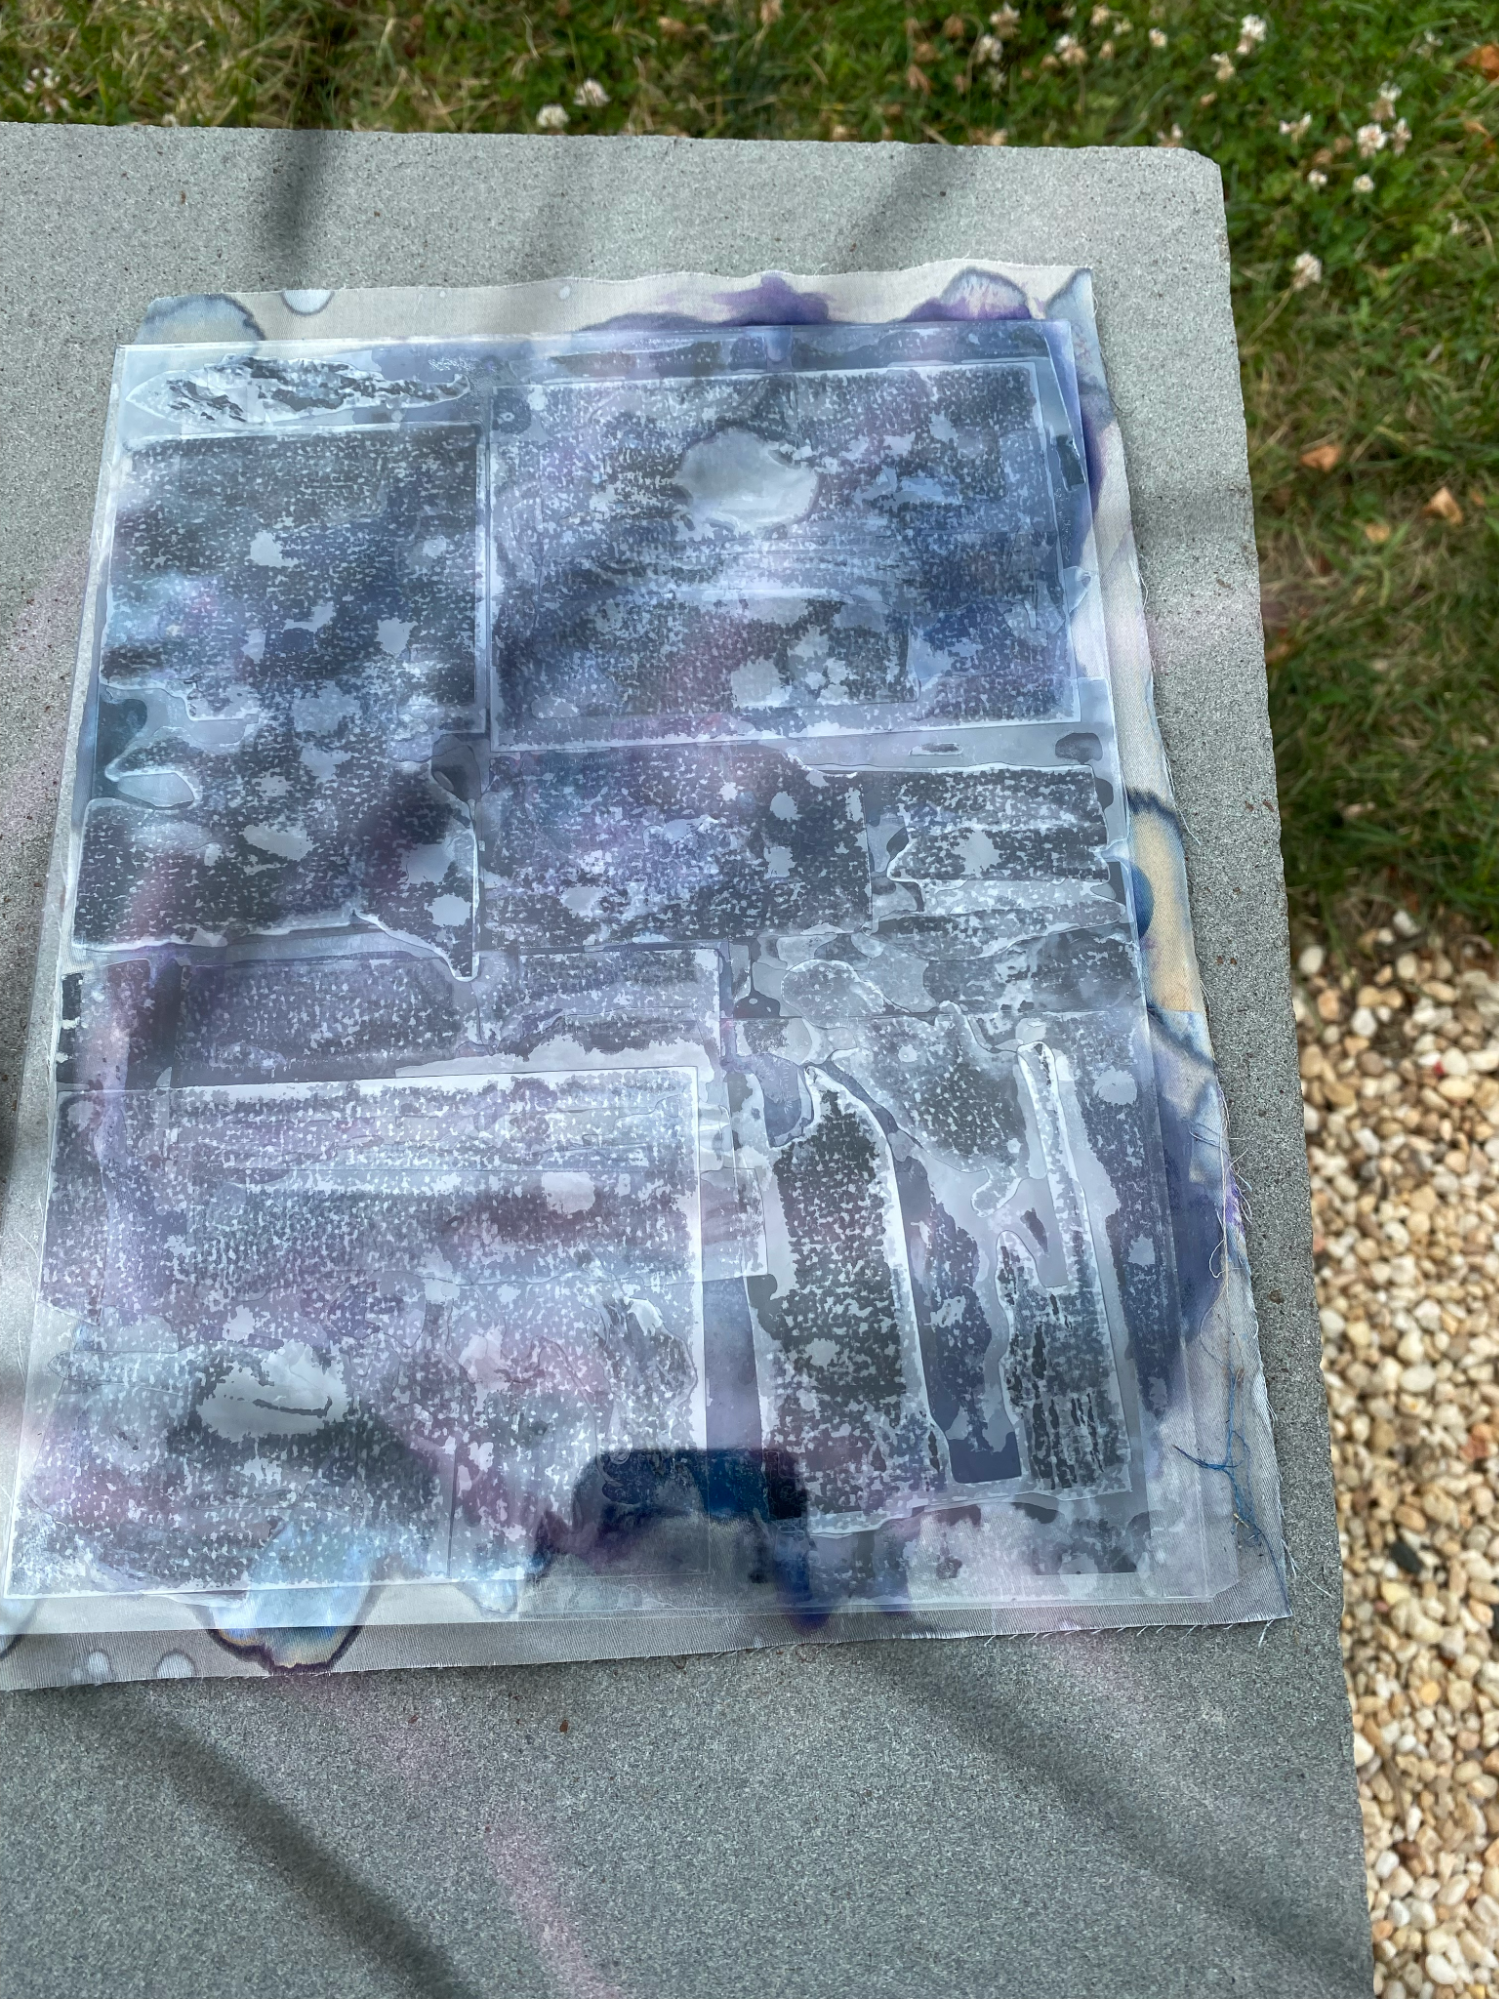
I had six sheets of the sticker paper, so I arranged and resized them to fit, then cut them out:
I didn’t follow a particularly precise plan with placing the stickers beyond being sure to keep some of the small ones fully covered so they would stay in tact, and putting two very large ones on as a sort of base, but otherwise, I just went off instinct.
The next thing I needed was the rain. We’ve been getting regular evening storms, so I didn’t think I’d have to worry about the need to have some rain followed by lots of sun. This would have been a great time to have saved a screenshot of forecasts with nonstop clear skies followed by non-stop rain through Sunday. Or the banner saying to expect dry conditions. Of the radar of storms skirting around my area (by a long bit, but at the scale of the storm, it felt close).
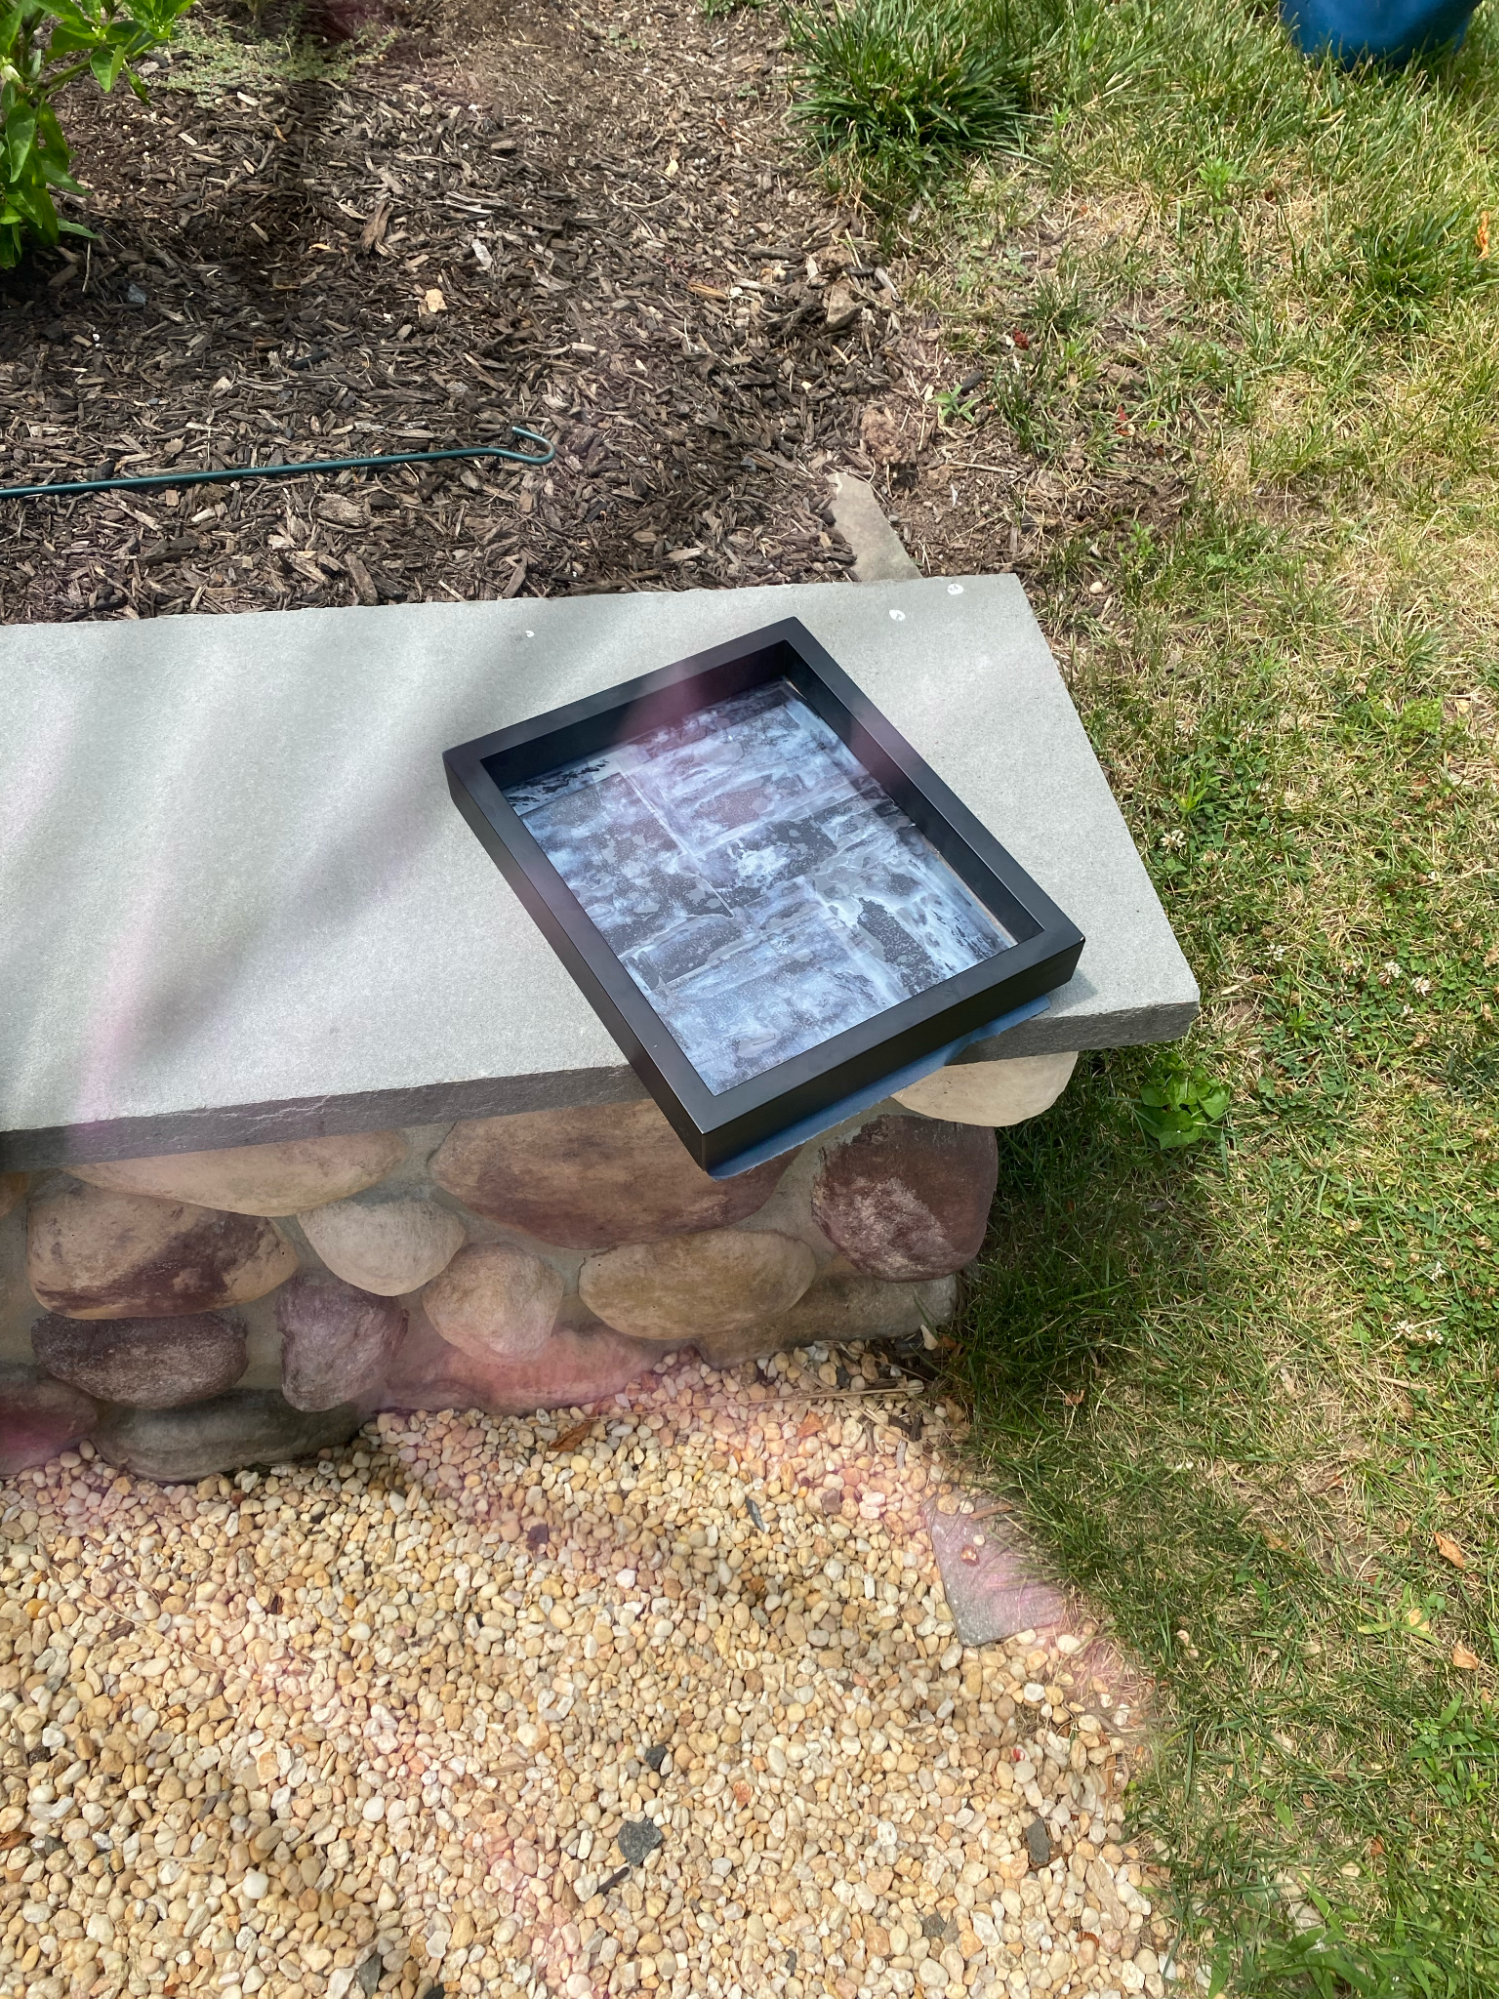
I didn’t even have much humidity to work with, but I found myself trying to force it using ice packs and cling wrap. I felt determined to keep it true to natural-ish influences, so I didn’t want to just use the hose sprayer. As I was attempting to do this, a drizzle started, and I jumped on the opportunity.
I didn’t end up getting as dramatic an effect as I’d hoped to achieve with a proper rainfall or even a heavy misting, but there were some droplets visible and a bit of smudging that occurred during the dash around trying to catch droplets.
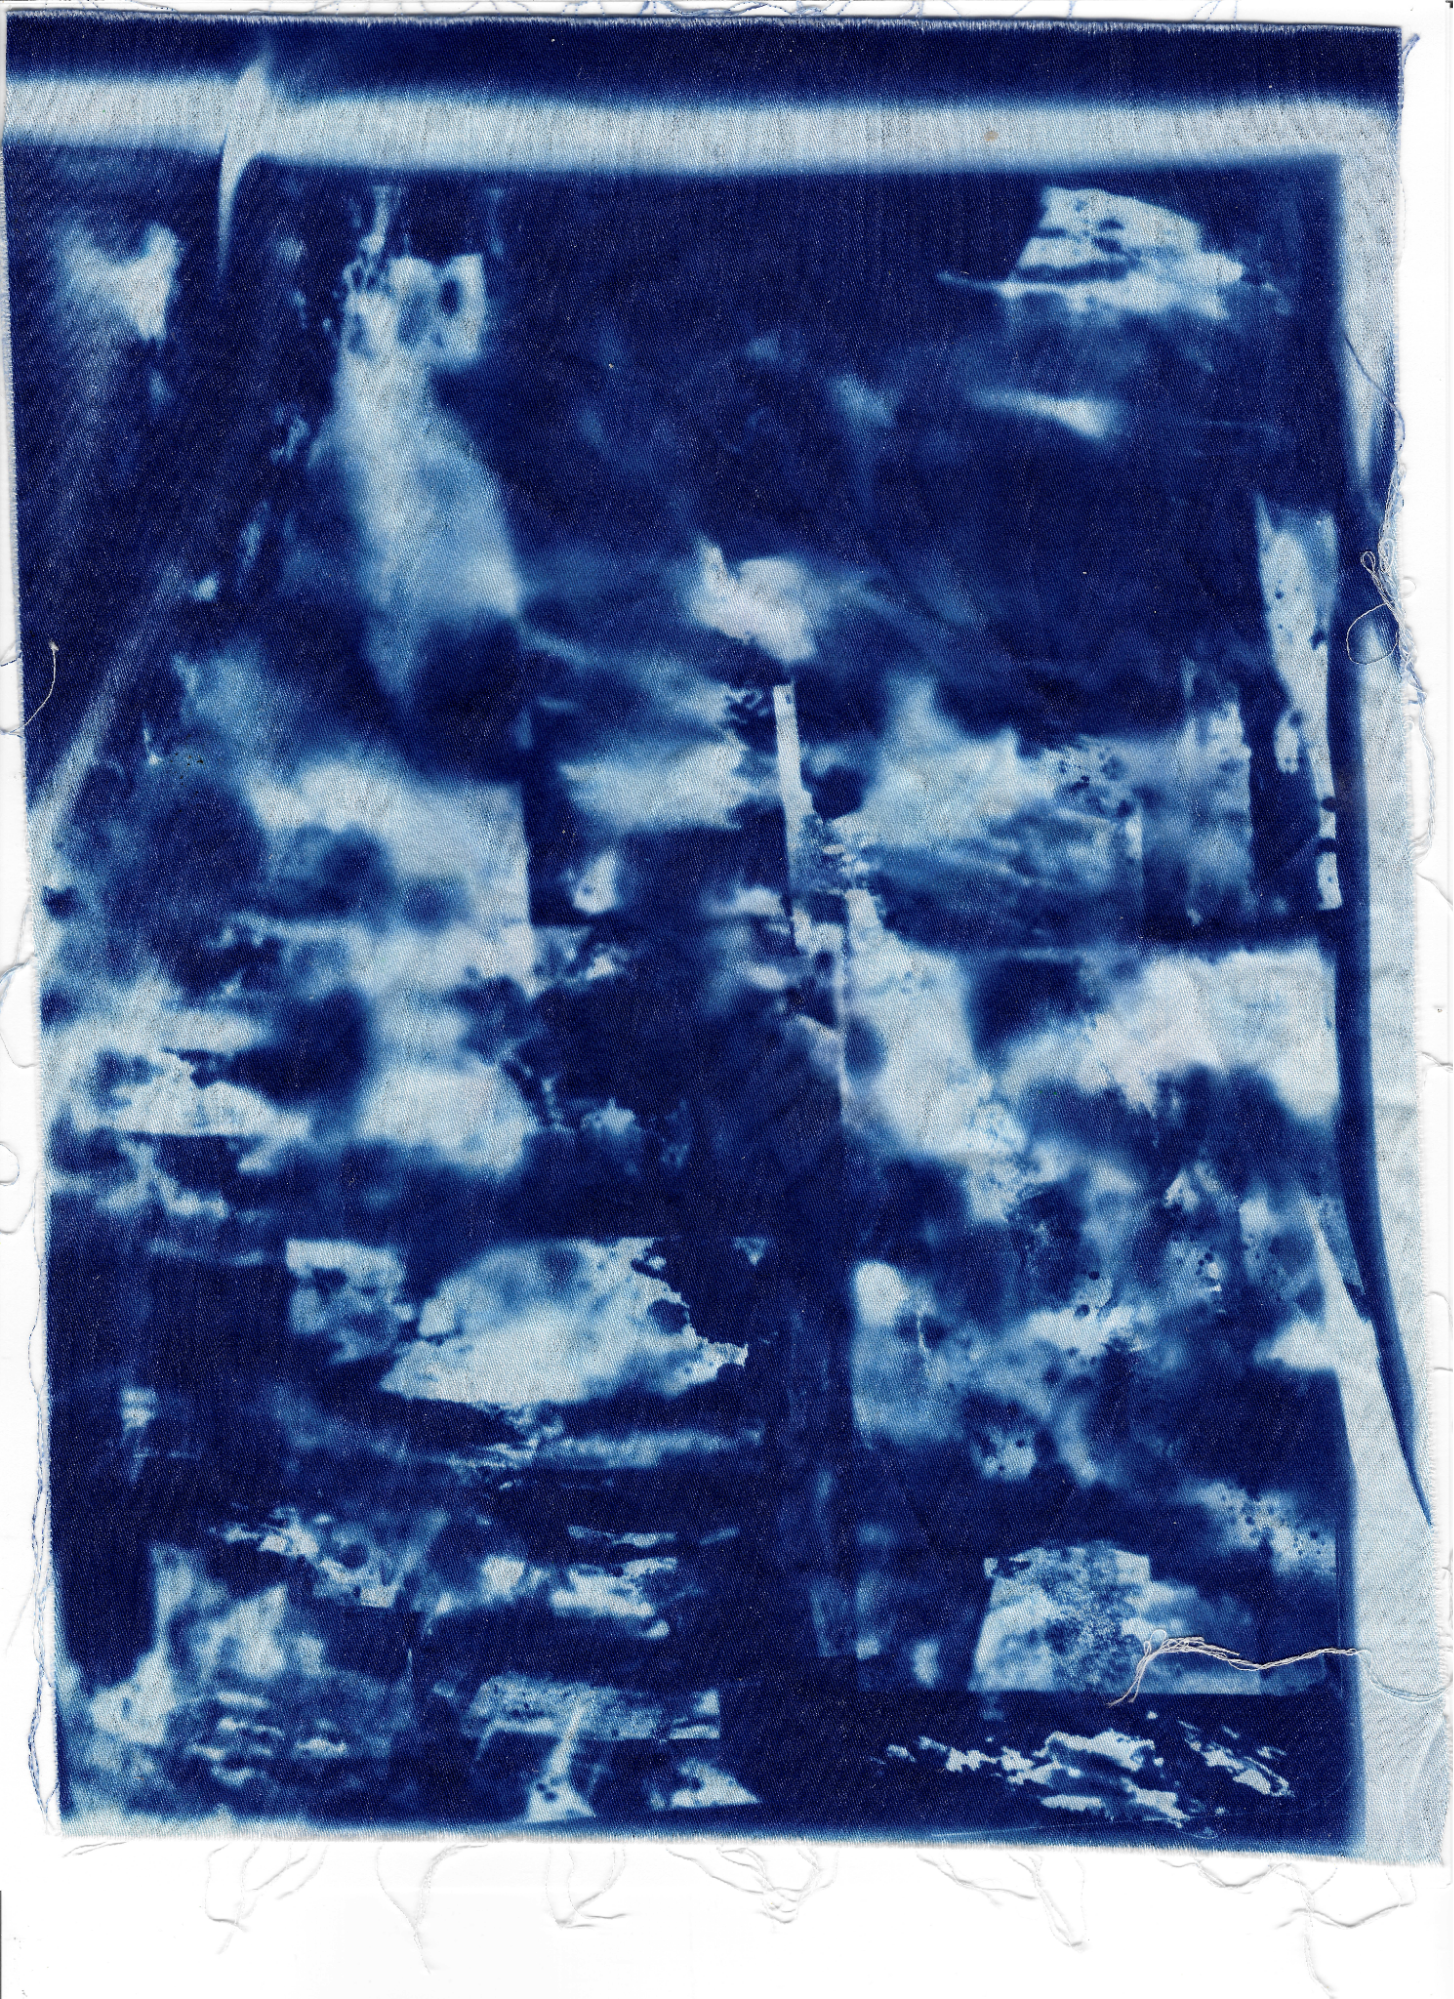
The rain was short-lived, so I didn’t have to wait nearly at all until the sun shone again for me to be able to use it to develop. I started out using pretreated cyanotype fabric sheets, and held it all in place using the picture frame I’d stolen the glass from, and it was finally time to develop!
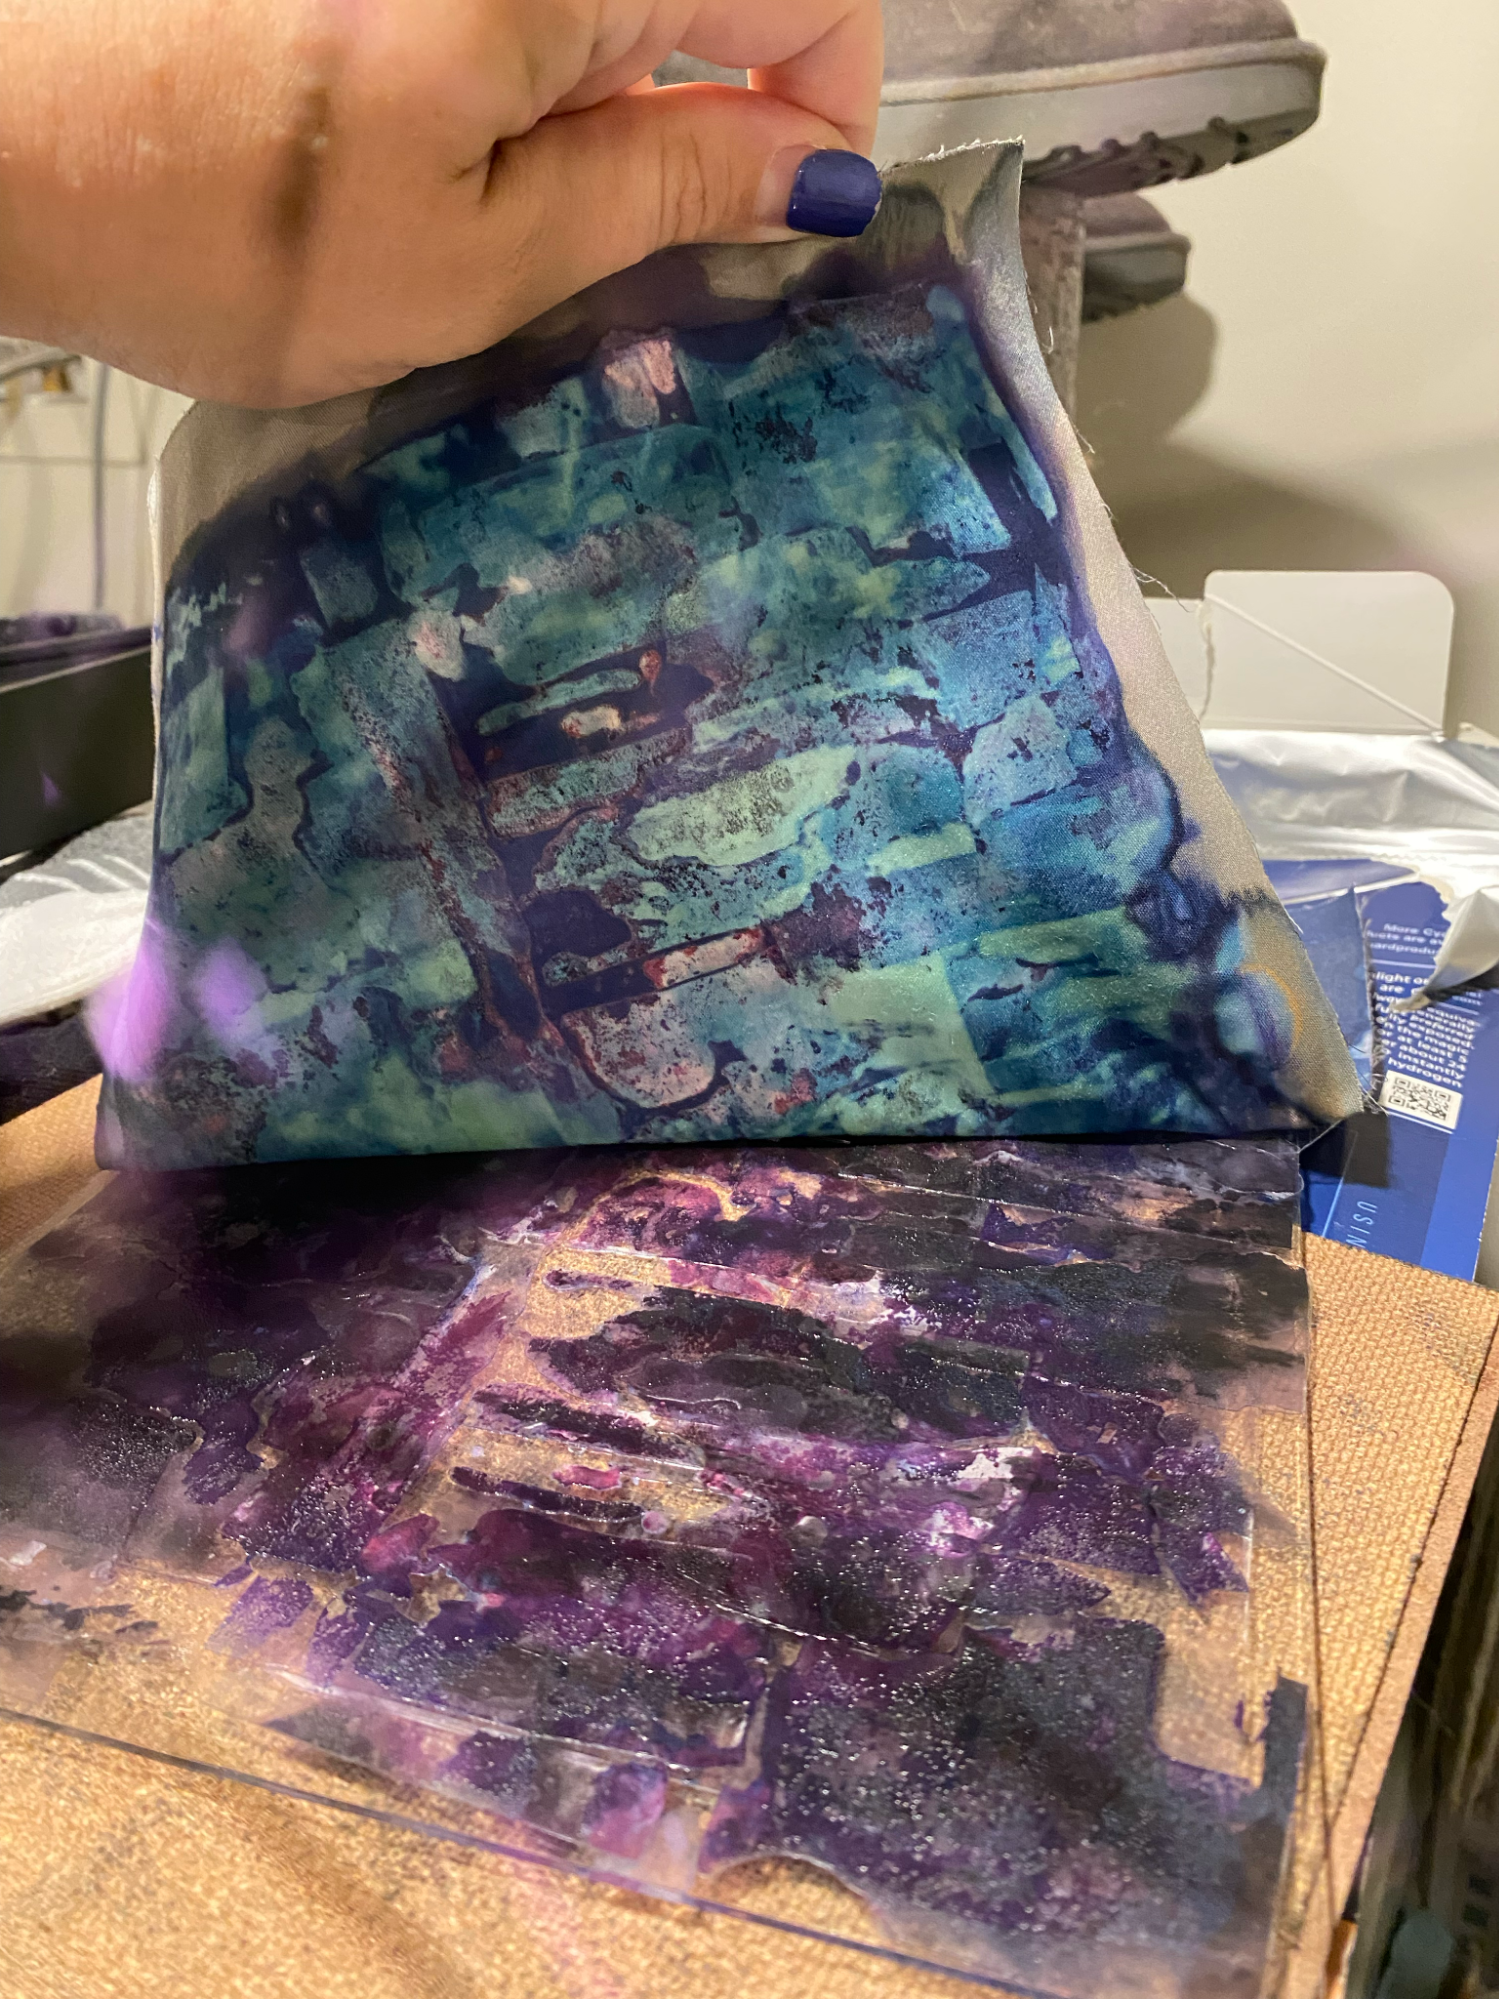
That process went as usual (will save result for the end), and I was itching to try more things, so I decided to see what would happen if I tried applying the solarfast dye to the pretreated fabric. Both were Jacquard brand so I thought maybe they would be compatible.
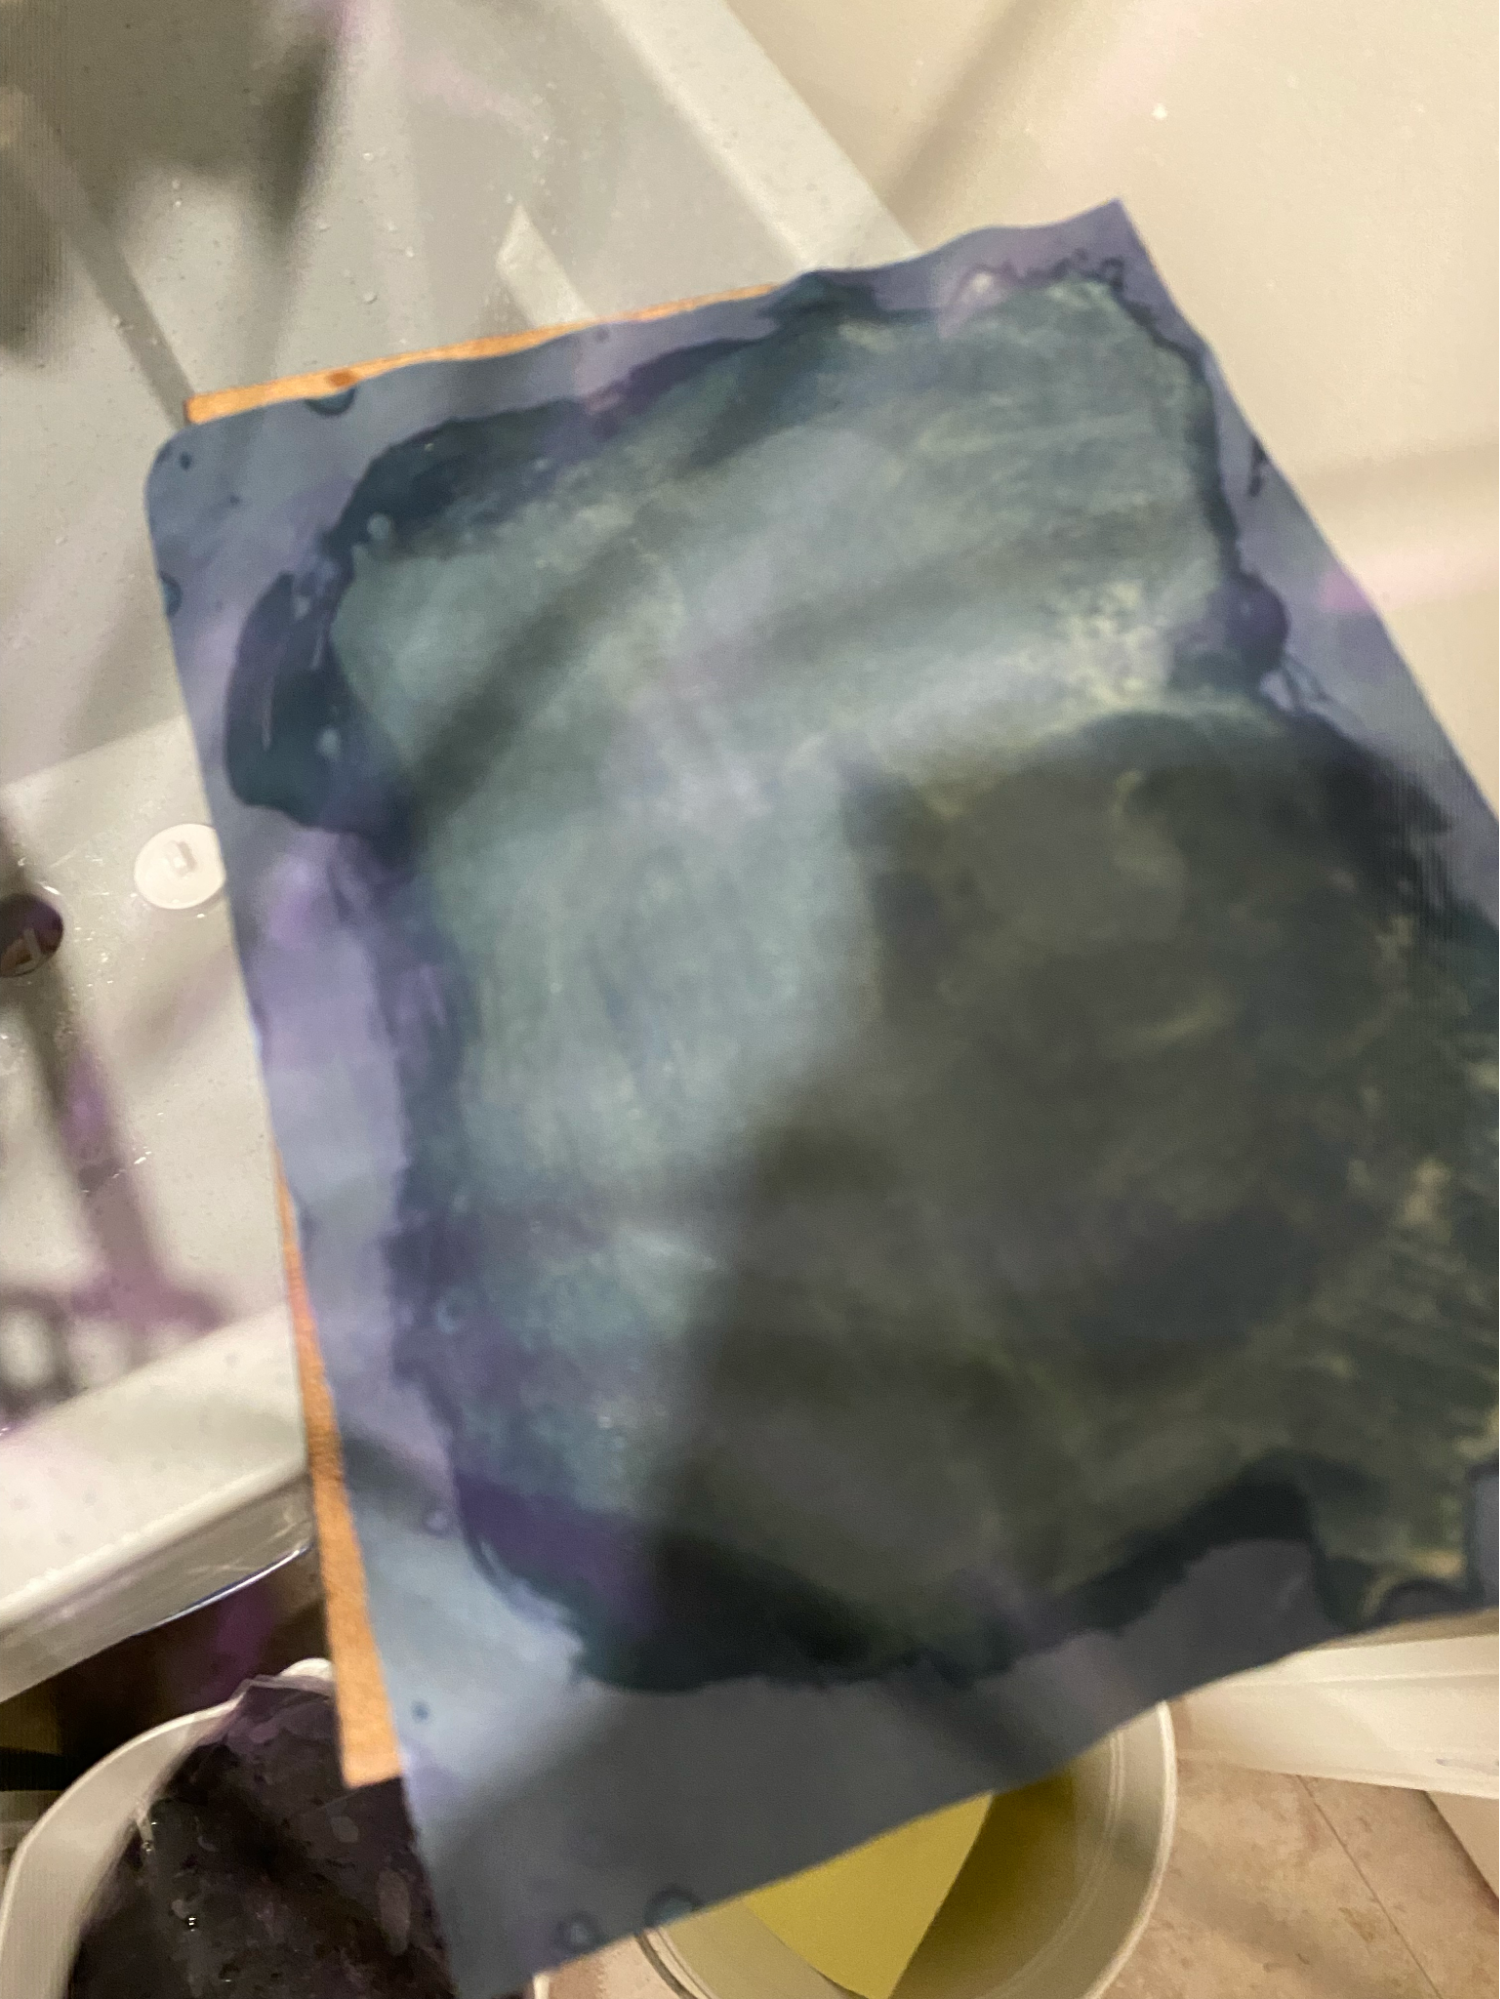
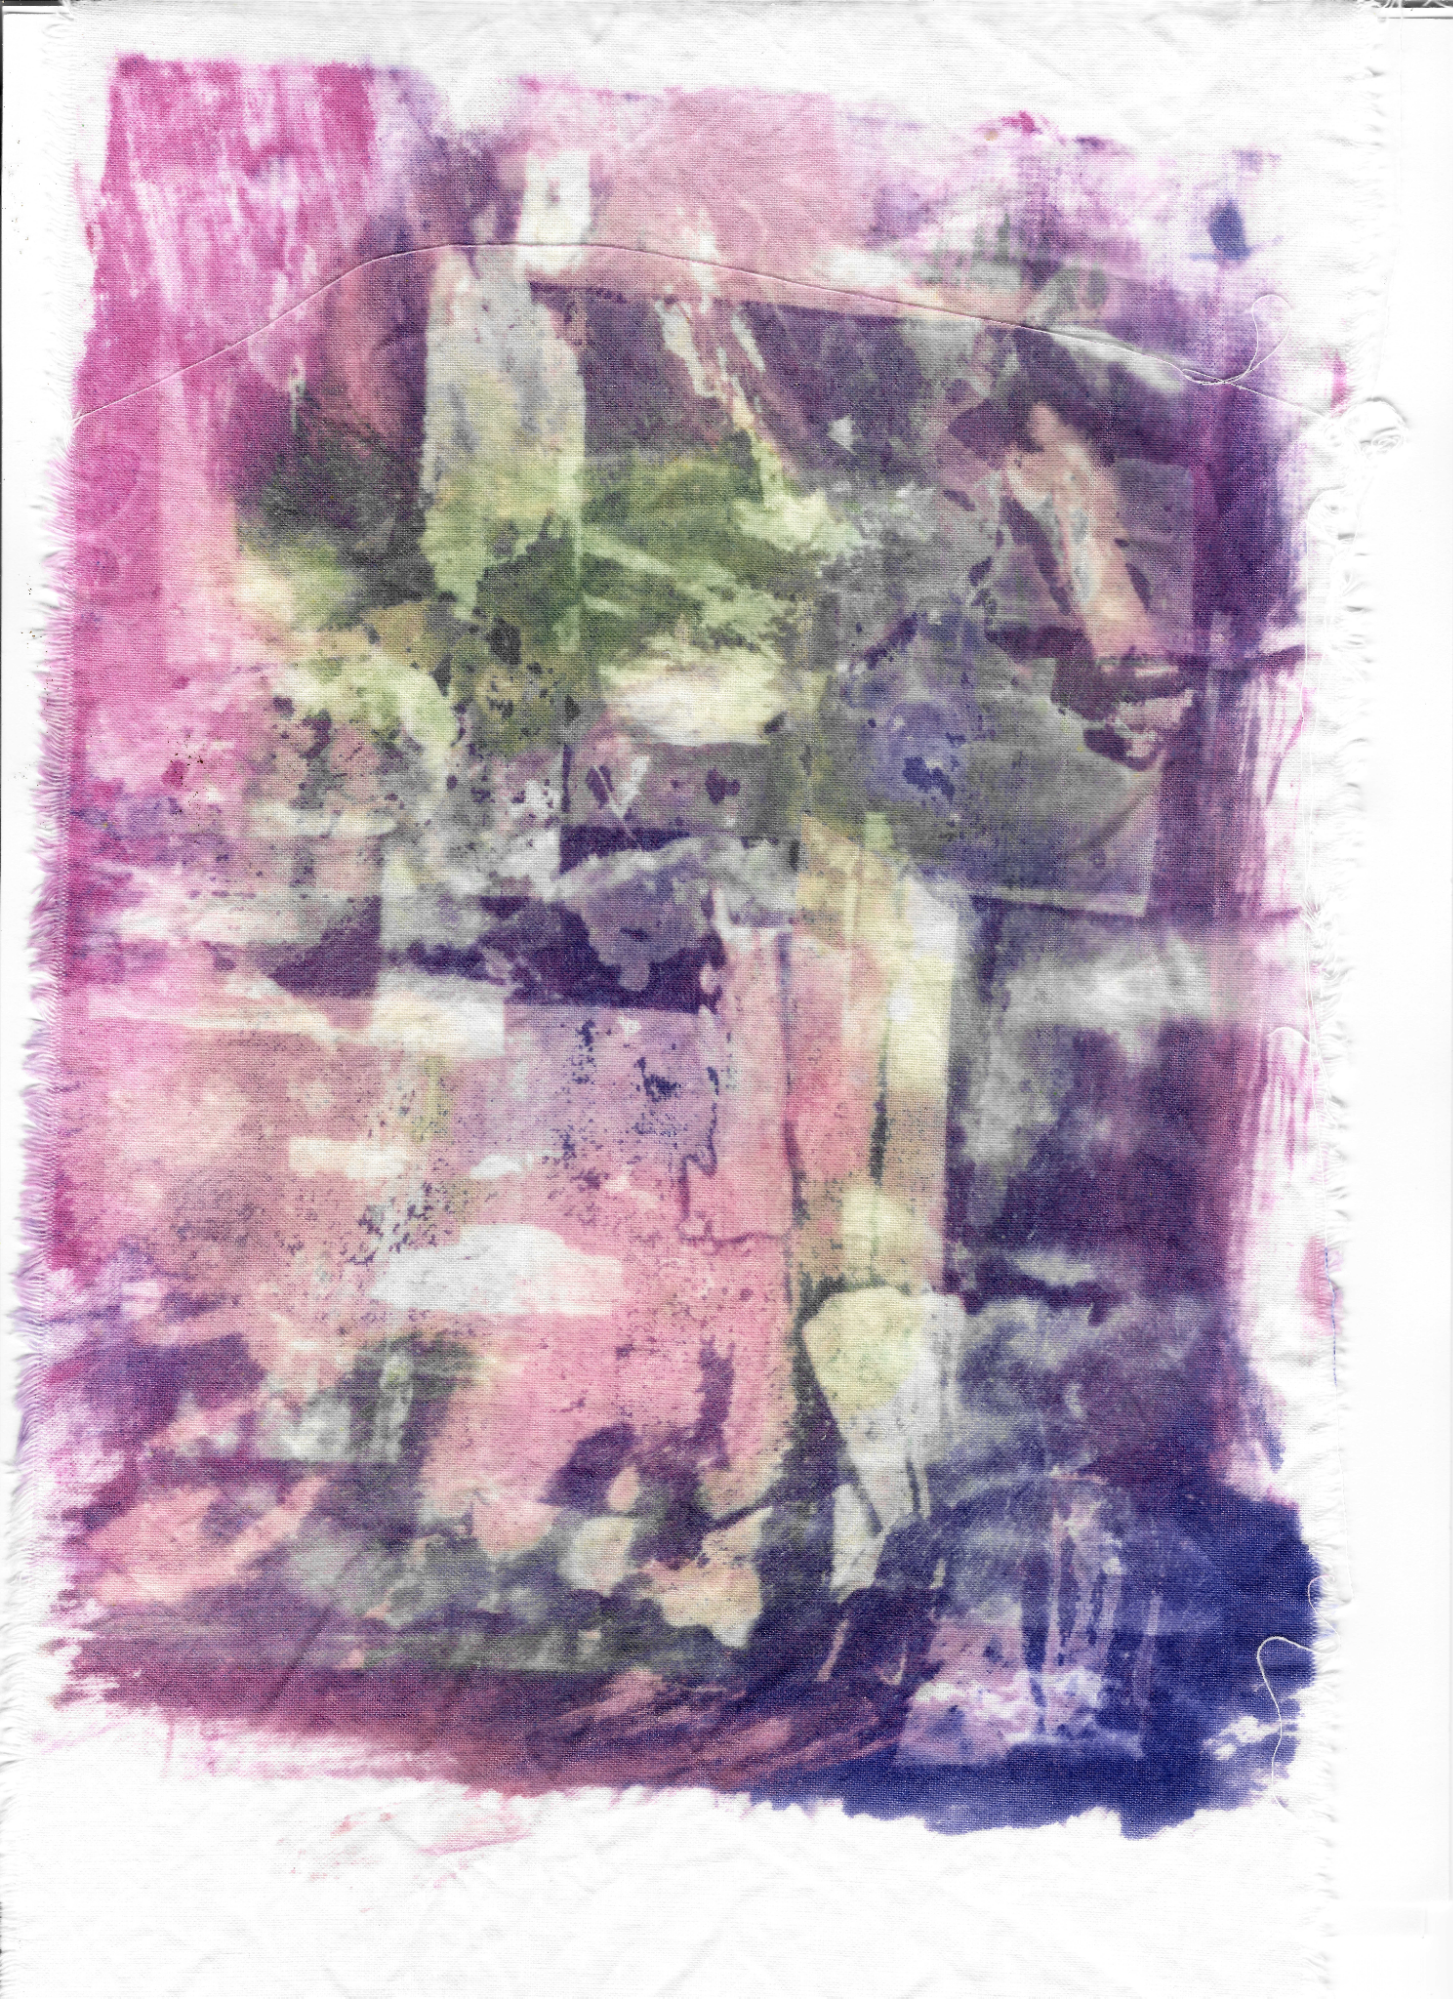
I decided to use purple and violet dyes to try to get a sunset/dusky look to the colors, but I wasn’t even sure if it would work, so my expectations were low and my hopes were high.
Going through development cycle, I had a bit of a surprise that I hadn’t considered. The moisture from the dye achieved what I was unable to with the tiny bit of rain - lots of smudging!
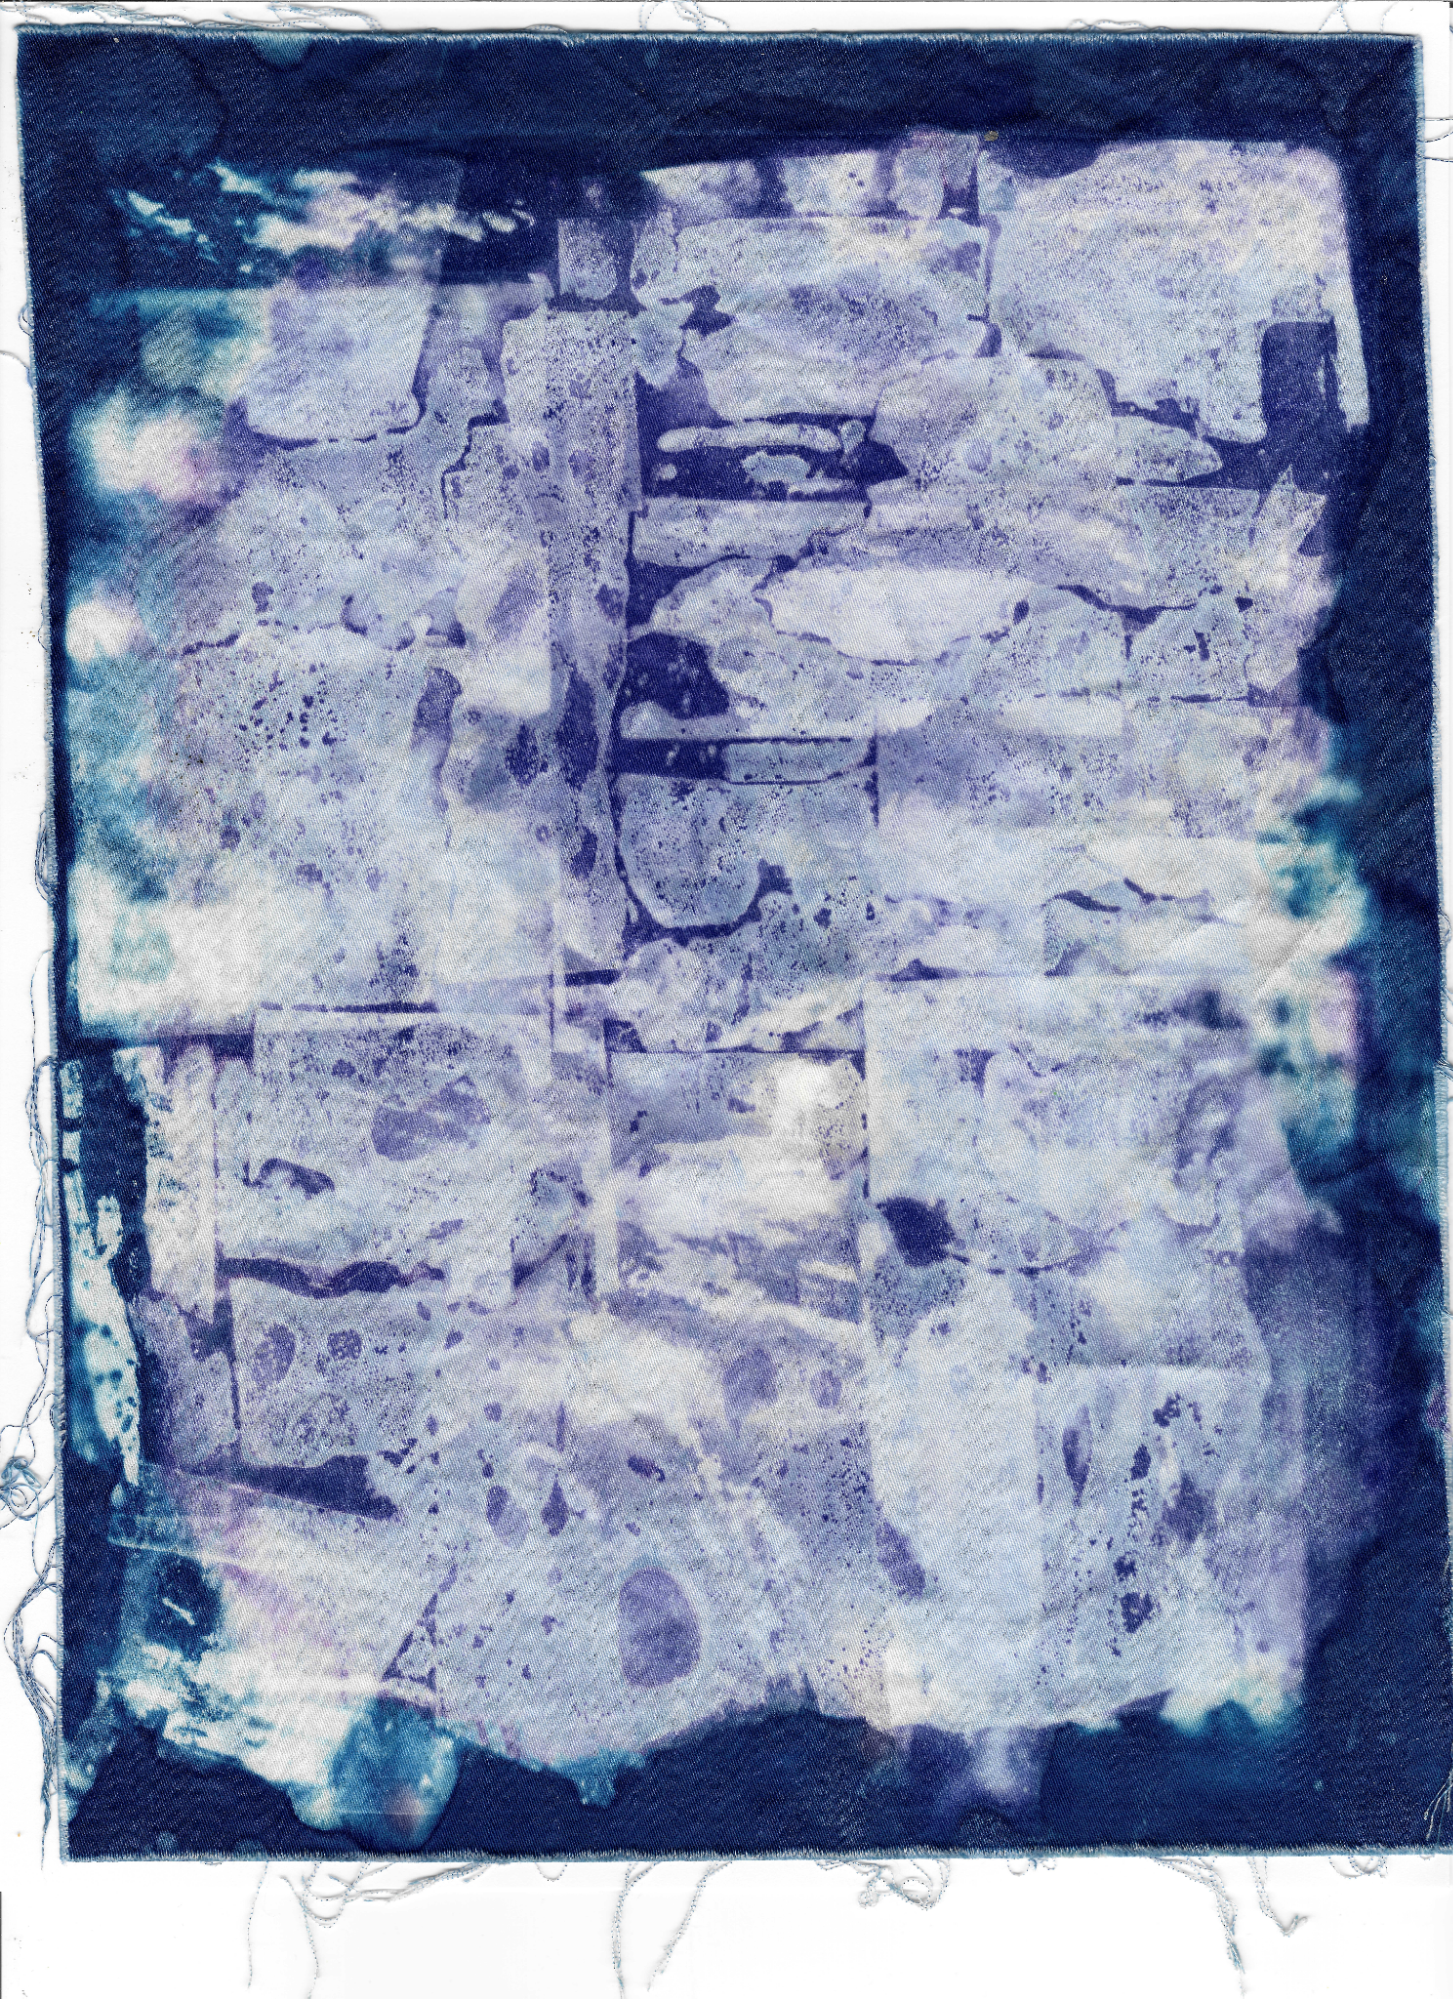
Lastly I decided to try an exposure with just the solarfast dye on plain fabric. The previous round pretty well destroyed many of the stickers, but fortunately I hadn’t used quite all of them during the first round, so I rinsed off the dye, peeled off the totally cleared stickers, and applied the leftovers.